Personalisation API
We refer to the registration and provision of a terminal as personalisation.
When you install the PhonePOS APK or your own PhonePOS SDK implementation, the integrated terminal is considered as unpersonalised.
With a successful personalisation you will have an active terminal i.e., a terminal that is able to process transactions.
This page will give you a short overview of the history, the different personalisation methods and how you can evaluate the result of a personalisation.
If you plan to migrate to or implement PhonePOS version 4.00.00.00 or later, please refer to the Options->Environment section for additional details.
History
Originally this API was called Hidden_API originating from the fact that our first APKs were hidden (no launcher icon is displayed).
We renamed the Hidden_API to IPA (Intent Personalisation API) to avoid possible confusion.
Personalisation methods
We support multiple ways of personalising a terminal to fit different use cases.
Before choosing a personalisation method, keep in mind that some personalisation methods have prerequisites e.g., an MDM (Mobile Device management) Environment.
Whether a personalisation method is available for a certain TID, is determined by the onboarding over ROS (Rubean Onboarding Service).
Some methods are also only available once and need to be re-enabled after use (different limits apply for every method).
To re-enable a method an overboarding or reactivation request might be needed.
Following PCI guidelines, it is never allowed to perform the ROS onboarding directly from the device.
UI TID + Password + Mail Link
With this personalisation method the users supply their TID and Password into the activity.
Following the authentication, a Mail link will be sent out to the user's inbox that was specified during its onboarding.
This link must be clicked for finalizing the personalisation.
Environment
No additional certification is required as only our integrated activity is used.
Can be used with COTS (commercial off-the-shelf) devices.
Implementation
- Java
Intent intent = new Intent();
intent.setAction("com.rubean.sandbox.phonepos.action.PERSONALISE");
intent.setPackage("*replace_with_phonepos_application_id*");
personalisationLauncher.launch(intent);
Custom Login + OTP
With this personalisation method the integrator supplies a terminalId and the requested otp type via an Intent to PhonePOS. PhonePOS will display an OTP dialog which accepts the OTP code from the user. If the code is provided the personalisation will continue.
Environment
Following PCI guidelines, a dedicated user identification process is required on the integrators part.
Implementation
- Java
JSONObject clientId = new JSONObject();
clientId.put("terminalId", "TID_OF_CLIENT");
clientId.put("otpServiceType", "MAIL"); // put either MAIL or SMS here

Intent intent = new Intent();
intent.setAction("com.rubean.sandbox.phonepos.action.PERSONALISE_WITH_PREDEFINED_TID");
intent.setPackage("*replace_with_phonepos_application_id*");

intent.putExtra("client_id", clientId.toString());
personalisationLauncher.launch(intent);
Previously we also supported the otpServiceType "NONE" for testing purposes.
This is no longer supported.
Automated enrolment
With this personalisation method the personalisation process does not require any user interaction on the PhonePOS part. This method requires you to send an externalDeviceId for every device during its onboarding. Additionally, a token is required for the personalisation. You can choose to either supply a token in the onboarding process or let ROS (Rubean Onboarding Service) generate one for you. The generated token will be returned as part of the onboarding response. for further details, please refer to the ROS guide.
The token in this process is a one-time token.
You either need to supply a new token to ROS or re-enable the old one to re-perform a personalisation.
Otherwise, the personalisation attempt will be rejected.
Environment
This method can only be used in an MDM (Mobile Device Management) environment. Using this method on an uncontrolled consumer devices is not permitted. The MDM needs to ensure that
- only devices that are trusted are able to run PhonePOS
- no sideloading of software is allowed
- usb debugging is disabled
- (optional) usb connection is disabled (no data, only charging)
Implementation
- Java
JSONObject clientId = new JSONObject();
clientId.put("externalDeviceId", "MY_EXTERNAL_DEVICE_ID");
clientId.put("token", "MY_TOKEN");

Intent intent = new Intent();
intent.setAction("com.rubean.sandbox.phonepos.action.PERSONALISE_WITH_AUTO_AUTH");
intent.setPackage("*replace_with_phonepos_application_id*");

intent.putExtra("client_id", clientId.toString());
personalisationLauncher.launch(intent);
Options
When customizing the personalisation process, you have the flexibility to include additional parameters through the extras parameter, specifically the options key.
Screen orientation
Available from PhonePOS version 3.09.03.13 and up
It is possible to display the terminal in different screen orientations. The following modes are available:
- PORTRAIT (default)
- LANDSCAPE
Please take into consideration that the screen orientation mode is not dynamic and can currently not be changed after personalisation.
To set the screen orientation, include the following variable within options:
{
  "screenOrientation":"SupportedValue"
}
Replace SupportedValue with either "LANDSCAPE" or "PORTRAIT" depending on your preference.
// Creating options object
JSONObject options = new JSONObject();

// Setting screen orientation to LANDSCAPE
options.put("screenOrientation", "LANDSCAPE");

// Alternatively, set screen orientation to PORTRAIT
// options.put("screenOrientation", "PORTRAIT")

// Passing options as intent extra
intent.putExtra("options", options.toString());

// Launching the UI based personalisation launcher
personalisationLauncher.launch(intent);
Environment
Starting with PhonePOS version 4.00.00.00, we have adopted a unified approach for our SDK deliveries. The values apiKey and apiSecret identify the environment PhonePOS should run in.
- When you integrate the PhonePOS APK/AAB these values are already set for you. You can still overwrite the values if needed. In most cases, this is NOT required.
- When you integrate the PhonePOS SDK these values should be set as
apiKeyandapiSecretin your AndroidManifest. You can still overwrite the values if needed. In most cases, this is NOT required.
To implement an optional override of the already defined values during personalisation, please add the following options to your intent:
// Creating environment object
val environment = new JSONObject();

// Add the two environment variables
environment.put("apiKey", "*YourApiKey*");
environment.put("apiSecret", "*YourApiSecret*");

// Passing environment as intent extra
intent.putExtra("environment", environment.toString());

// Launching the UI based personalisation launcher
personalisationLauncher.launch(intent);
You will receive your apiKey and apiSecret through our Integration Support team.
Secondary Display Support
Available from PhonePOS version 3.16.X and up. Please note that this feature is only available on selected Rubean platforms. Please contact your Rubean technical partner manager to make sure that your Rubean platform is supporting this feature.
In retail and other businesses devices with two screens are common. We want to enable our integrators to also use these system for handling transactions. The goal is to display our terminal on the customer-facing terminal screen. To enable the support for secondary display devices please include the following option:
// Creating options object
JSONObject options = new JSONObject();

// Enabling secondary display support
options.put("secondaryDisplayEnabled", true);

// Passing options as intent extra
intent.putExtra("options", options.toString());

// Launching the UI based personalisation launcher
personalisationLauncher.launch(intent);
Additional NFC image position
Available from PhonePOS version 3.16.X and up.
On devices with large screens it is sometimes difficult to find the NFC sensor, especially if the sensor is located behind the screen glass itself. This feature makes it possible to display an additional image that signals the position of the card reader to the user.
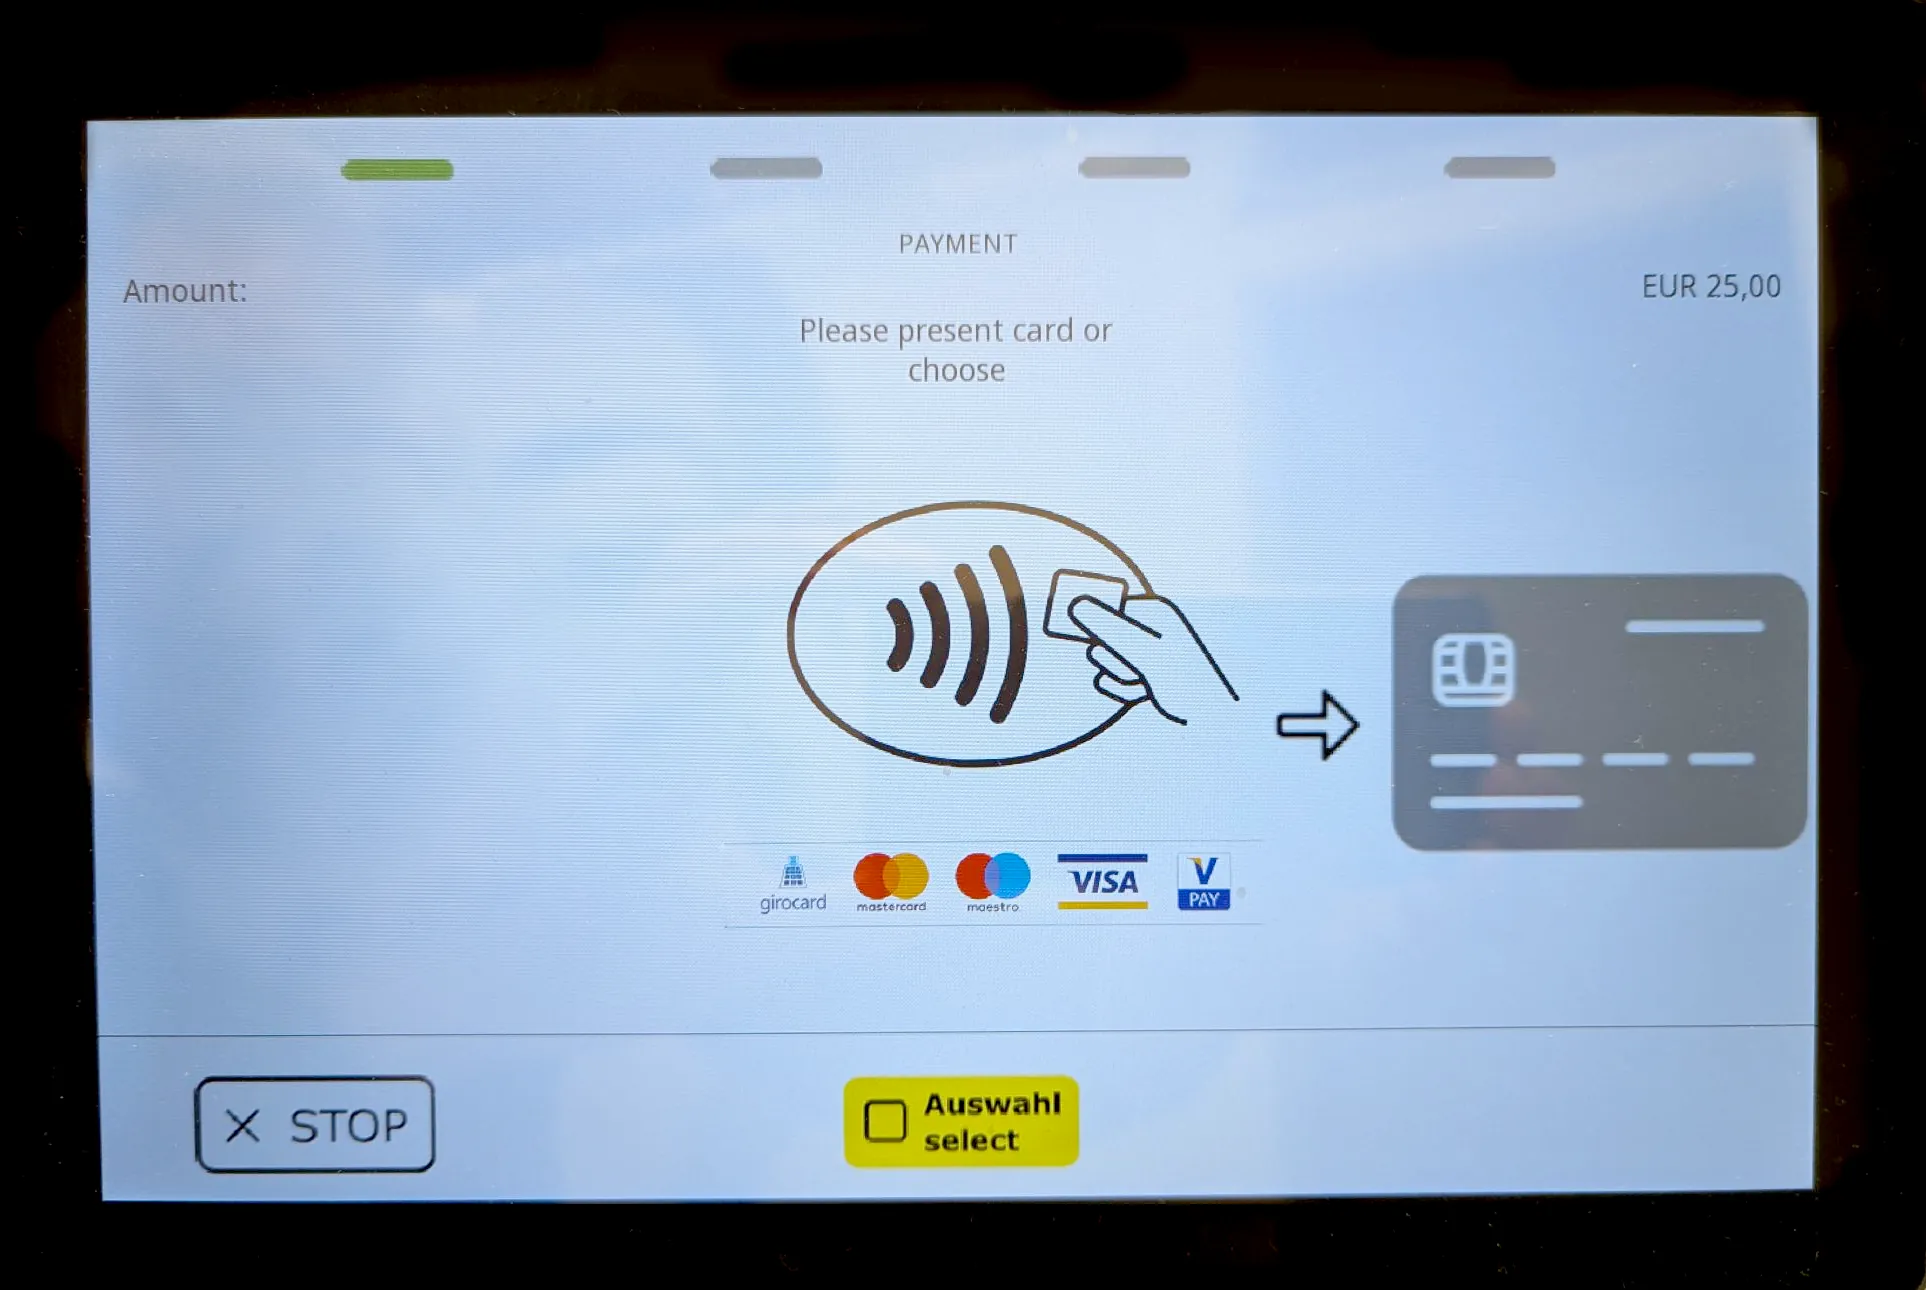
The additional image takes up space which is not available on most devices in portrait mode. Please only enable this feature on devices that are set to landscape mode and feature enough screen space to display all images properly.
// Creating options object
JSONObject options = new JSONObject();

// Set the position of the additional image to the right
options.put("nfcImagePosition", "POSITION_RIGHT");

// available options are:
// NO_IMAGE (default)
// POSITION_LEFT
// POSITION_RIGHT

// Passing options as intent extra
intent.putExtra("options", options.toString());

// Launching the UI based personalisation launcher
personalisationLauncher.launch(intent);
NFC Platform Sound
The terminal will play an initial sound when the card is recognized (NFC Platform Sound) and a second when the card is fully read. You can disable the initial sound when the card is recognized. In this case you will hear only the final sound when the card is fully read and can be removed from the device.
// Creating options object
JSONObject options = new JSONObject();

// Disable the NFC platform sound
options.put("nfcReaderPlatformSoundsEnabled", false);

// Passing options as intent extra
intent.putExtra("options", options.toString());

// Launching the UI based personalisation launcher
personalisationLauncher.launch(intent);
Response Evaluation
After the personalisation process has finished, its result is returned to the caller by the personalisation activity. It contains a terminal status code and might further include a more concrete extra status.
Implementation
ActivityResults cannot be used if the personalisation Intent is launched with FLAG_ACTIVITY_NEW_TASK since the launched activity is placed in a different task, creating a separation between the caller and the callee.
Also keep in mind that due to its isolated nature, activities will not be able to receive ActivityResults if their launchMode is set to singleInstance.
public class ExampleResponseEvaluationActivity extends AppCompatActivity {

    private static final String SDK_PERSONALISE_RESULT_BUNDLE_NAME = "status";
    private static final String PERSONALISATION_EXTRA_DATA_NAME = "personalisation_extra_data";
    private static final String PERSONALISATION_EXTRA_DATA_STATUS_CODE = "personalisation_status_code";
    private static final String UPDATE_REMINDER_EXTRA = "update_reminder";

    private static final int TERMINAL_OPERATIONAL = 0;
    private static final int TERMINAL_NOT_OPERATIONAL = 2;
    private static final int PERSONALISATION_FAILED = 100;
    private static final int APP_IS_OUTDATED = 102;

    private final ActivityResultLauncher<Intent> personalisationLauncher = registerForActivityResult(
            new ActivityResultContracts.StartActivityForResult(),
            this::onPersonalisationResult
    );

    public void launchPersonalisationIntent(Intent intent) {
        personalisationLauncher.launch(intent);
    }

    private void onPersonalisationResult(final ActivityResult result) {
        if (result != null && result.getResultCode() == RESULT_OK && result.getData() != null) {
            final Intent data = result.getData();
            final int personalisationResult = data.getIntExtra(SDK_PERSONALISE_RESULT_BUNDLE_NAME, -1);

            // please refer to the status code list at the end of this documentation page
            if (TERMINAL_OPERATIONAL == personalisationResult) {
                final boolean isUpdateComingSoon = data.getBundleExtra(PERSONALISATION_EXTRA_DATA_NAME)
                        .getBoolean(UPDATE_REMINDER_EXTRA, false);
                // if isUpdateComingSoon is true, you can notify the user in your app that a mandatory update will be required soon
                // Handle, e.g. start a payment
            } else if (TERMINAL_NOT_OPERATIONAL == personalisationResult) {
                final String reason = data.getBundleExtra(PERSONALISATION_EXTRA_DATA_NAME)
                        .getString(PERSONALISATION_EXTRA_DATA_STATUS_CODE, "");
                // Handle reason according to documentation below
            } else if (PERSONALISATION_FAILED == personalisationResult) {
                final String reason = data.getBundleExtra(PERSONALISATION_EXTRA_DATA_NAME)
                        .getString(PERSONALISATION_EXTRA_DATA_STATUS_CODE, "");
                // Handle reason according to documentation below
            } else if (APP_IS_OUTDATED == personalisationResult) {
                // Handle, e.g. instruct user to update first
            } else {
                // Unknown status code
            }
        } else {
            // PhonePOS was terminated by system or user
        }

        // Receiving a code/reason that we did not provide in the list below indicates issues that
        // are generally difficult to locally react on
        // In this case you can contact our support for further instructions
    }
}
Personalisation Result Status Codes
The personalisation activity returns a status integer indicating the personalisation outcome.
For a consolidated reference of all shared status and terminal error codes, see PhonePOS API Error Codes.
With the release of PhonePOS 4.X (MPoC) we have introduced additional error codes that make it possible for integrators to better react on internal states of PhonePOS.
✅ 0 - STATUS_TERMINAL_OPERATIONAL
The personalisation was successfully finished, initialization and startup have been completed. The terminal is ready for payments.
⚠️ 2 - STATUS_TERMINAL_NOT_OPERATIONAL
The personalisation generally finished but there are still issues that prevent full operation. The extra status contains more info. Please refer to PhonePOS API Error Codes for the complete list.
❌ 100 - STATUS_PERSONALIZATION_FAILED
The personalisation failed. The extra status contains more info. Possible codes are: Please refer to PhonePOS API Error Codes for the complete list.
⏳ 102 - STATUS_APP_IS_OUTDATED
PhonePOS is outdated. Please instruct the user to update first.